
Installing a mini split system is much like piecing together a puzzle; each component must fit perfectly to create a comfortable living environment. In Dallas, TX, where temperatures can soar, ensuring you choose the right system is essential. So, how do you assess your space and needs effectively? Understanding the process can make a significant difference in your comfort and efficiency. Let’s investigate the steps you need to take for a successful installation.
Understanding Mini Split Systems
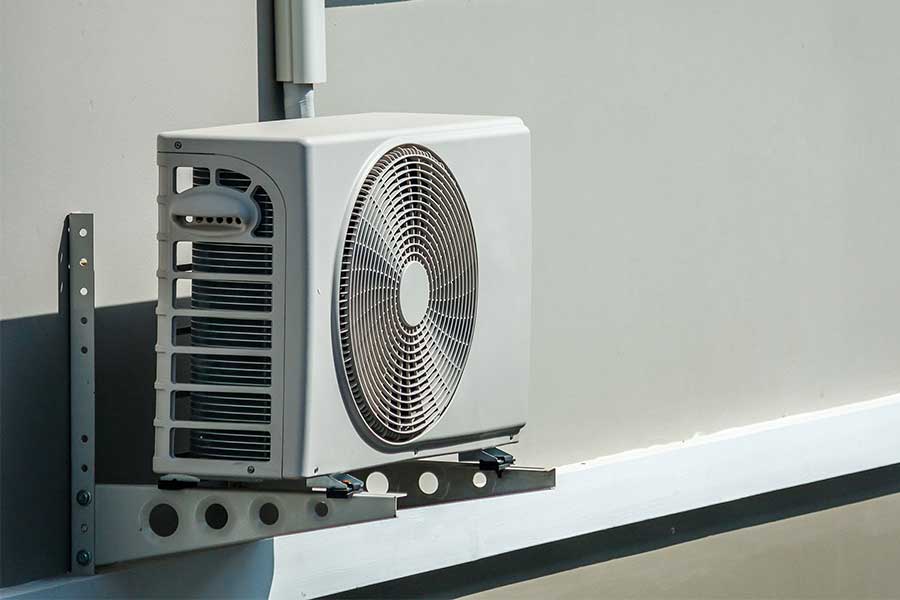
Mini split systems are an efficient way to heat and cool individual rooms or spaces without the need for ductwork. They consist of an outdoor compressor unit and one or more indoor air-handling units, which can be mounted on walls or ceilings.
This design allows for targeted temperature control, so you can customize comfort in each area of your home.
You’ll appreciate the flexibility they offer, as mini splits can easily fit into various layouts and sizes. Plus, their energy efficiency often translates to lower utility bills.
Many systems even come with advanced features like programmable thermostats and remote controls, making it simple to adjust settings from anywhere in the room.
With minimal installation disruptions, you’re likely to find this option less invasive than traditional HVAC systems. Additionally, professional ductless mini split AC installation ensures optimal system performance and long-term savings on energy costs.
Ultimately, mini splits provide a modern solution for effective climate control tailored to your needs.
Assessing Your Space and Needs
Before installing a mini split system, it’s essential to assess your space and needs to guarantee ideal performance and comfort.
Consider the following factors to make a well-informed choice:
- Room Size: Measure the square footage of the area you want to cool or heat. This helps determine the capacity you’ll need for your mini split system.
- Insulation Quality: Evaluate your home’s insulation. Better insulation can lead to improved efficiency and lower energy costs.
- Sun Exposure: Take note of how much sunlight your space receives. Rooms with more windows may require a more powerful unit.
- Zoning Needs: Think about whether you want to heat or cool multiple rooms or just one. This influences the number of indoor units you might need.
Additionally, consulting with a reliable HVAC service can provide expert guidance tailored to your specific installation needs.
Gathering the Necessary Tools and Materials
When preparing to install a mini split system, you’ll need to gather some essential tools and materials to guarantee a smooth process.
Start by collecting a drill, screwdrivers, and a level. These tools will help you secure the indoor and outdoor units properly. You’ll additionally need a measuring tape to verify accurate placement and spacing.
For materials, make certain you have the mini split system itself, including the indoor and outdoor units, refrigerant lines, and electrical wiring.
Don’t forget insulation tape and mounting brackets for secure installation. You might further want a vacuum pump to remove air from the refrigerant lines.
Finally, gather safety gear like gloves and goggles to protect yourself during the installation. Proper installation ensures optimal furnace operation and enhances the overall efficiency of your heating system.
With everything on hand, you’ll be well-equipped to tackle the next steps in your mini split system installation.
Installation Process of the Mini Split System
As you commence the installation process of your mini split system, it’s vital to follow a systematic approach to guarantee everything functions correctly.
Begin by selecting an appropriate location for the indoor unit, ensuring it’s away from obstructions and has access to the outdoor unit. Next, mount the indoor unit securely on the wall.
- Drill a hole for the refrigerant lines and electrical wiring.
- Connect the indoor unit to the outdoor compressor using the refrigerant lines.
- Install the condensate drain line to prevent any water damage.
- Secure the outdoor unit on a stable platform, ensuring it’s level and accessible.
Once everything’s connected, double-check your work for any leaks or loose connections. Regular maintenance and prompt repairs are essential for HVAC efficiency, helping to avoid higher energy bills and decreased air quality.
With careful attention to detail, you’ll set the stage for your mini split system to provide efficient heating and cooling throughout your space. Enjoy the comfort that follows!
Testing and Maintenance Tips
To keep your mini split system running efficiently, regular testing and maintenance are essential. Start by checking the air filters monthly; clean or replace them every three months to guarantee peak airflow.
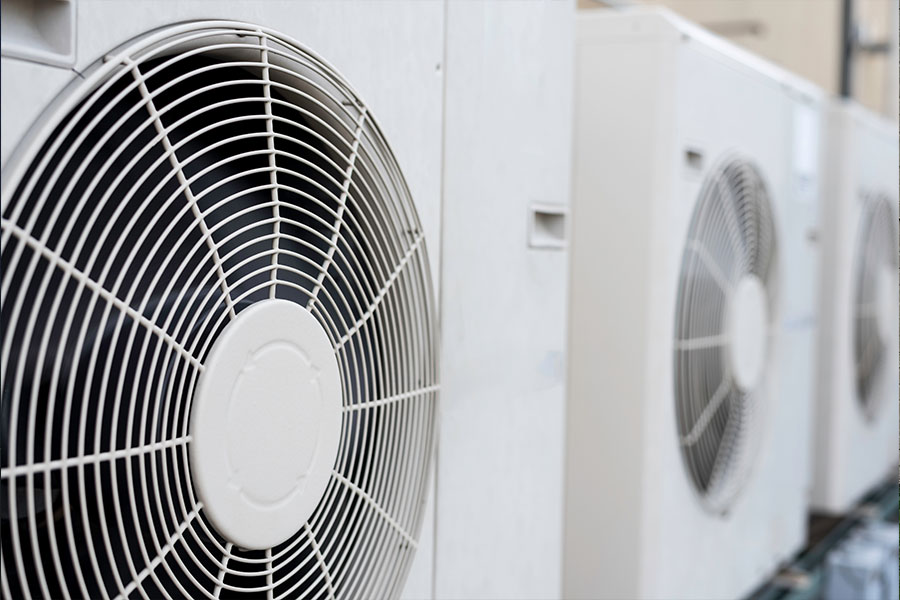
Inspect the outdoor unit for debris or obstructions that could hinder performance. You should likewise clean the coils and verify the drain lines are clear to prevent water damage.
Next, test the system’s heating and cooling functions by adjusting the thermostat. Listen for any unusual noises and monitor for any strange smells, which could indicate issues.
Moreover, check the refrigerant levels once a year—low levels can lead to inefficiency.
Finally, schedule professional maintenance at least once a year with a trusted HVAC provider like Triple A Air Conditioning. They can perform a thorough inspection and tune-up, making sure your system runs smoothly and prolongs its lifespan.
Regular maintenance not only saves energy but also improves comfort in your home.
Conclusion
Now that you’ve navigated the steps to install your mini split system, picture yourself coming home on a sweltering Dallas day, stepping into a cool, comfortable oasis. You’ll feel the invigorating air wrap around you like a gentle breeze, transforming your space into a sanctuary. Don’t forget to schedule that annual maintenance—it’s like a tune-up for your comfort. With your new system in place, you’re ready to enjoy every moment in your perfectly climate-controlled haven.